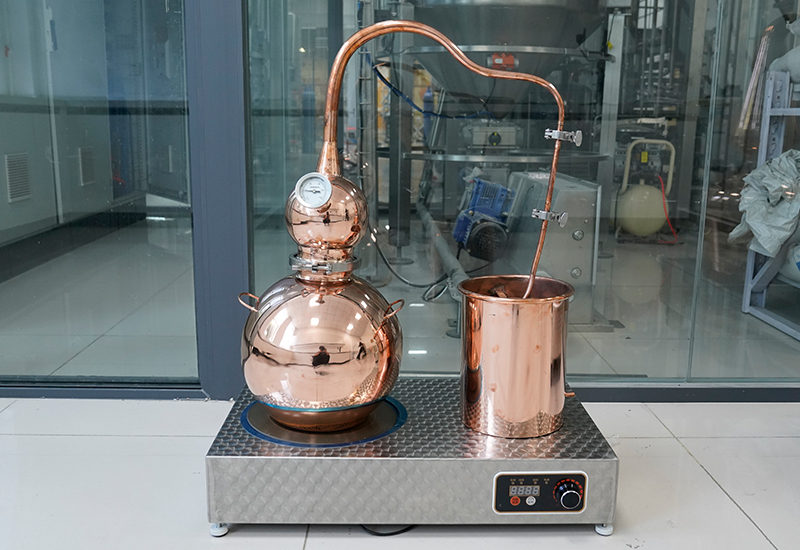
How to Make a Copper Moonshine Still
Copper moonshine stills have been a part of distillation history for centuries. Known for their superior heat conduction, corrosion resistance, and ability to remove sulfur compounds from the mash, copper stills are the preferred choice for many distillers. Building your own copper still can be a rewarding project, but it requires careful attention to detail and understanding of both the material and distillation process. Here’s a guide on how to make a copper moonshine still.
Materials and Tools Needed
Before starting, gather the essential materials and tools:
Copper sheeting (20-gauge or thicker)
Copper tubing (for the condenser)
Soldering kit (with lead-free solder)
Rivets and rivet gun
Flameproof sealant
Flux (for soldering)
Hammer and metal shears
Clamps
Drill (with metal bits)
Thermometer (for monitoring temperature)
Step 1: Design the Still
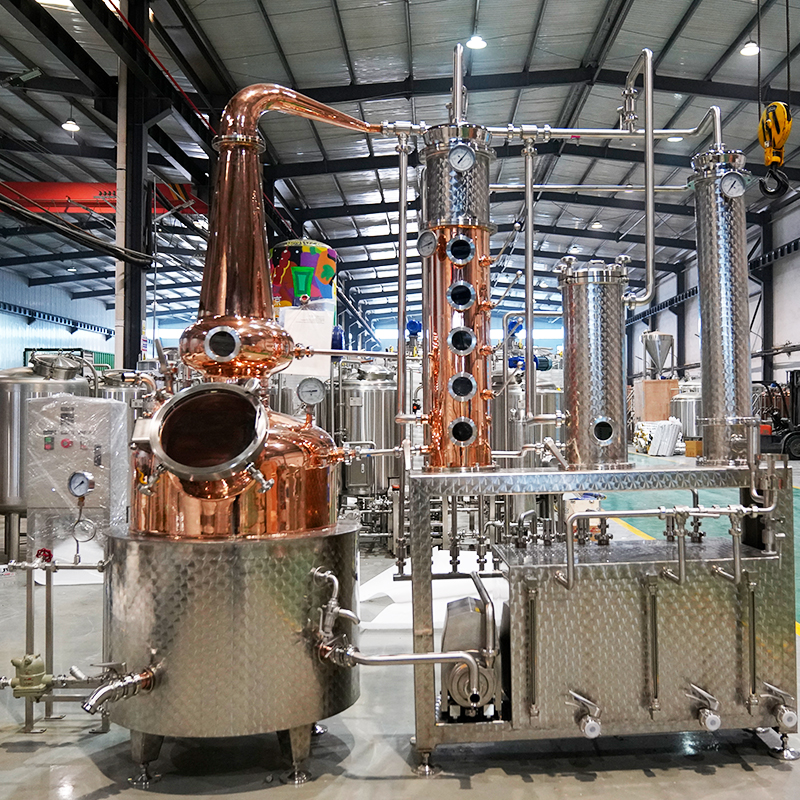
The first step in building a copper moonshine still is deciding on the still’s design. A standard moonshine still consists of three main parts:
The Pot or Boiler: This is where the mash is heated and alcohol vapor is produced.
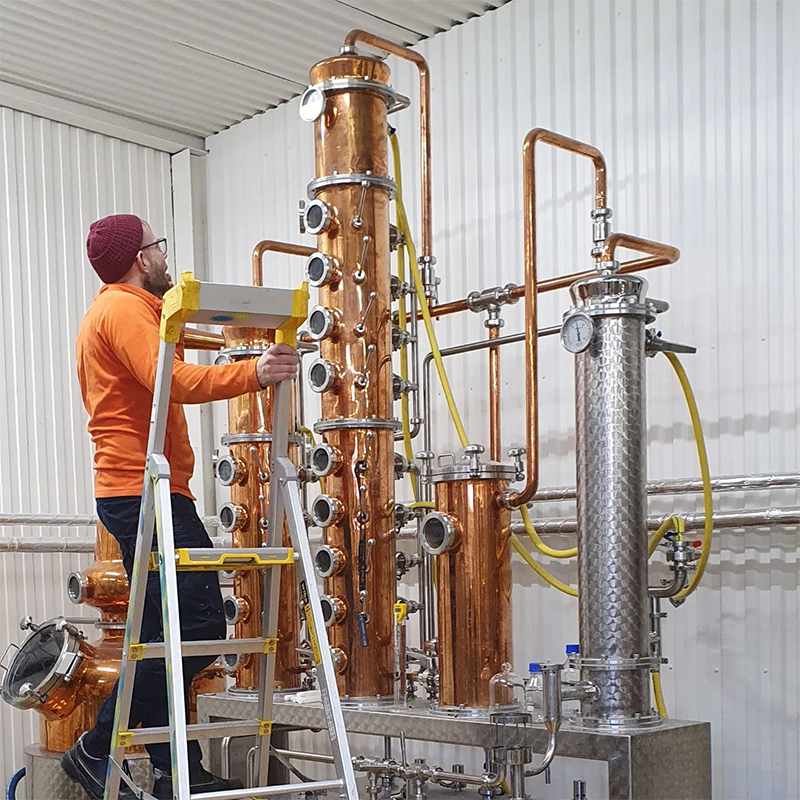
The Column and Cap: These components direct the vapor into the condenser. The cap is fitted tightly over the pot, and the column can either be straight or reflux for greater purity.
The Condenser: Here, the vapor cools and turns back into liquid.
Your still’s size will depend on the volume of the mash you plan to distill. A typical home still holds between 5 to 10 gallons. Be sure to check local regulations regarding the legality of home distillation before proceeding.
Step 2: Cut and Shape the Copper Sheets
Using metal shears, cut out the necessary pieces from the copper sheeting for your boiler, cap, and column. You will need:
A large circular or conical piece for the boiler.
A cylindrical section for the column.
A dome or cone for the cap.
For the condenser, use copper tubing to create a coil. This coil will be submerged in cold water to condense the alcohol vapor.
Pro Tip: Hammer the edges of the copper to form smooth, even seams that are easier to solder later.
Step 3: Assemble the Boiler
Shape the large piece of copper into the desired size for your boiler and secure the sides using rivets. Riveting ensures that the boiler remains structurally sound during distillation. Apply flux along the seams and use the soldering kit to fuse the copper, creating a leak-proof pot.
Next, attach the base. Cut a circular piece of copper for the bottom and rivet it to the body. Solder the joint to ensure it’s watertight. Double-check for leaks by filling the boiler with water before continuing.
Step 4: Construct the Column and Cap
For the column, roll the copper sheet into a cylinder and solder the seam. This part directs the alcohol vapor to the condenser. If you opt for a reflux still, you’ll need to install a reflux coil inside the column.
For the cap, cut and shape a dome that will fit securely over the boiler’s opening. The cap should have an outlet to attach the column or a lyne arm that leads to the condenser.
Important: Proper sealing is crucial. Ensure that all joints between the cap, column, and boiler are sealed with solder or flameproof sealant to prevent vapor from escaping.
Step 5: Install the Condenser
The condenser is typically made from a copper coil submerged in a bucket of cold water. The alcohol vapor from the column will travel through this coil and condense into liquid. To make the coil, take copper tubing and form it into tight spirals.
Connect one end of the coil to the top of the column using a compression fitting. The other end should protrude from the cold water bucket where the liquid alcohol will drip into a collection container.
Step 6: Add a Thermometer
A key component of any still is temperature control. Install a thermometer at the top of the boiler or on the cap to monitor the temperature. Distillation occurs in specific temperature ranges, so keeping a close eye on this is essential for producing quality moonshine.
Step 7: Testing and Final Adjustments
Once you’ve constructed your copper still, it’s time to test it. Start by doing a water distillation run to ensure that there are no leaks and that all components are functioning correctly.

Fill the boiler with water
Heat the boiler, and check for vapor escaping from any seams.
Ensure that the condenser cools the vapor effectively and that the system produces a steady stream of liquid.
Address any leaks or inefficiencies before using your still for alcohol distillation.
Safety Tips
Ventilation: Always distill in a well-ventilated area, as alcohol vapors are highly flammable.
Seal Integrity: Regularly check the seals and solder joints to ensure there are no leaks.
Legality: Be aware that in many places, distilling alcohol without a permit is illegal.
Building a copper moonshine still is a fascinating and rewarding project that allows you to combine craftsmanship with the science of distillation. By following the steps outlined above, you can create a functional and efficient still.

